
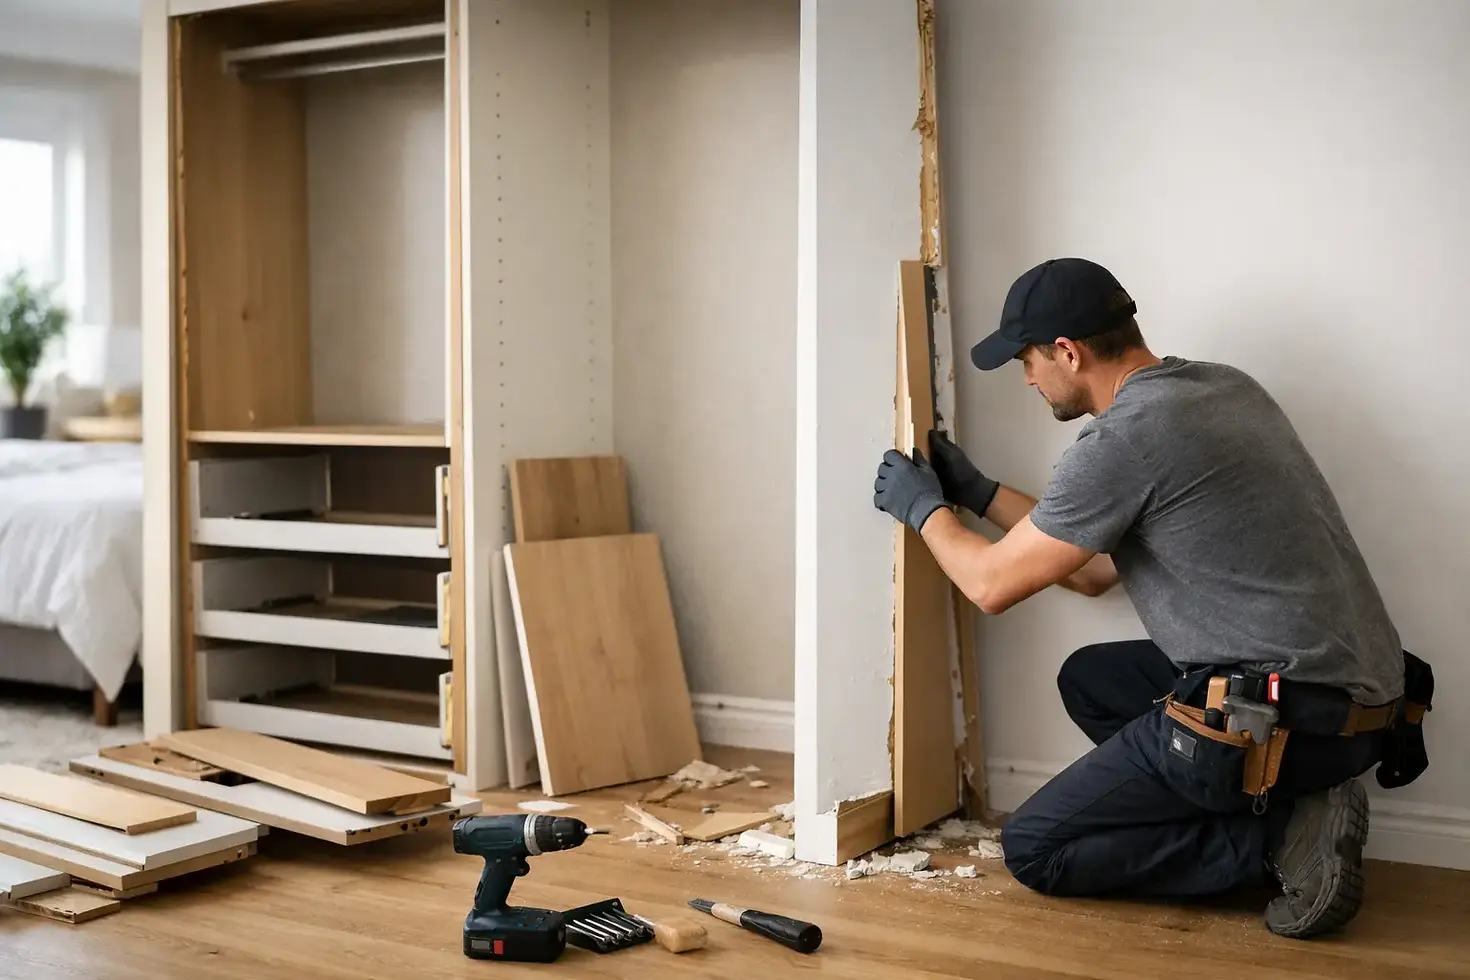
How to Remove Fitted Wardrobes Without Damage
- JOHN ANTHONY CARPENTRY
- 11 minutes ago
- 6 min read

A fitted wardrobe can look like one solid piece of furniture, but it is usually a series of panels, battens, fixings and trims secured to the room. Knowing how to remove fitted wardrobes in the right order is what separates a manageable job from damaged plaster, torn flooring and an unexpected repair bill.
Whether you are redecorating a bedroom, replacing tired storage or preparing for a new made-to-measure design, start by treating the wardrobe as part of the room rather than a freestanding unit. Work carefully, take photographs as you go and do not assume every panel can simply be pulled away from the wall.
Before You Remove a Fitted Wardrobe
Empty the wardrobe completely, including high shelves, drawers and storage boxes. Remove hanging rails, loose shelves and internal drawers first. This reduces the weight of the unit and makes its construction easier to see.
Next, inspect the wardrobe closely. Look inside the cabinets and along the top, sides and back for screws, screw caps, brackets and small timber blocks. Many fitted wardrobes are fixed through the interior sides into battens behind the panels. Others are screwed into the floor, ceiling or adjoining walls, then finished with decorative trim to conceal the fixings.
Take clear photos of each section before dismantling. This is particularly useful if you plan to reuse doors, handles or internal fittings, or if you need to identify the route of cables later. Measure the wall, floor-to-ceiling height and any alcoves once the unit is empty. These measurements will be valuable if the space is being redesigned.
Check for services before starting
Be cautious where a wardrobe sits against a wall with sockets, switches, lighting or pipework. Cables can sometimes be routed behind or through a fitted unit, especially where lighting has been added inside the wardrobe. If you find wiring, do not disconnect it yourself. Switch off the relevant circuit only if you are sure which one it is, then arrange for a qualified electrician to make the area safe.
Likewise, stop if you see pipework, signs of damp, loose plaster or a wall that feels unstable. Removing the wardrobe may expose an existing issue rather than create one, but it is better dealt with before new furniture is installed.
Tools That Make the Job Safer
The exact tools depend on the wardrobe construction, but a few basics will prevent unnecessary damage. You will usually need a drill-driver with suitable bits, a screwdriver set, a claw hammer, a small pry bar, a utility knife, a tape measure and a torch. Keep a vacuum nearby, as old wardrobes often hold a surprising amount of dust and debris behind the units.
Have cardboard, dust sheets or old blankets ready to protect floors and nearby furniture. A wide filling knife or flat scraper is useful behind a pry bar, spreading pressure across the wall surface instead of concentrating it in one spot. Wear gloves and eye protection, particularly when removing overhead panels or breaking old sealant.
A second person is strongly recommended. Tall end panels, sliding doors and top boxes can be awkward to control even when they are not especially heavy.
How to Remove Fitted Wardrobes Step by Step
Start with doors and moving parts
Remove hinged doors before taking apart the cabinet. Support the door while another person removes the hinge screws, beginning with the lower hinge where practical. Set doors aside flat on a protected surface to avoid twisting or damaging the finish.
For sliding wardrobes, identify the system before lifting anything. Most doors sit on a bottom track and locate into a top guide, but some systems carry their weight from the top. Remove soft-close fittings or anti-jump clips if present, then follow the manufacturer’s arrangement where it is visible. Sliding doors are large and can be heavier than expected, so do not attempt this stage alone.
Once doors are removed, take out rails, shelves, drawer boxes and adjustable shelf supports. You should now be able to see the carcass fixings more clearly.
Remove trims before pulling on panels
Decorative cornice, scribe panels, plinths and side fillers are often the final parts fitted during installation. They can hide screws and create the impression that the wardrobe is bonded permanently to the room.
Run a utility knife carefully along paint, caulk or silicone lines at the edge of each trim. This reduces the chance of pulling paint or plaster from the wall. Then use a scraper behind the trim and apply gentle pressure with a pry bar. Work along the length a little at a time rather than forcing one corner free.
If a trim is painted into the wall, some paint loss is likely. The aim is to limit it to a narrow repair line that can be filled, sanded and repainted afterwards.
Find and remove the structural fixings
With trims removed, look for screws inside the wardrobe sides, at the top corners, behind shelf positions and near the base. Remove accessible screws first, keeping them in a container if you may need to identify their size later.
Do not pull a panel outward until you are confident the fixings are out. If it still feels secure, check for hidden screws under caps, behind end panels or through a batten. A fitted wardrobe may also be lightly bonded with adhesive or sealant, particularly along the back edge. Cut through sealant where possible rather than levering aggressively against finished plasterboard.
Start dismantling from the least restricted section. In many installations, this is one side cabinet or a top box rather than the central section. Once one upright panel is free, the rest of the construction becomes easier to understand.
Take down top boxes and side panels carefully
Overhead cupboards and bridge units should be supported before their final screws are removed. These sections may be connected to side panels as well as fixed to the wall. Have one person hold the unit steady while the other removes the last fixings.
For tall side panels, tilt them away slowly and watch for snagging on skirting boards, ceiling trim or carpet. If the panel was installed before flooring, it may appear trapped at the bottom. Avoid forcing it. In some cases, removing the base plinth or cutting a small concealed section of the panel is less damaging than lifting against the floor finish.
Deal with battens, plinths and sealant last
After the main carcass has been removed, you may find timber battens fixed to the wall. These are often screwed into masonry or timber studs and can usually be unscrewed. If a batten has been glued firmly to fragile plasterboard, removing it may cause more damage than leaving it until a decorator or carpenter assesses the wall.
Remove any remaining sealant carefully with a scraper. Vacuum the area thoroughly before inspecting the walls and floor. Small holes, paint lines and sections of uneven plaster are normal after removing fitted furniture. Larger cracks, missing plasterboard facing or lifted flooring deserve attention before a replacement is measured and designed.
Protecting Walls, Floors and Skirting Boards
The most common damage happens when a pry bar is used directly against a painted wall or when a panel is dragged across flooring. Put a wide scraper, timber offcut or thick card behind the bar to spread the force. Keep pressure slow and controlled.
Flooring needs the same care. If laminate, engineered wood or carpet was fitted after the wardrobe, there may be an uncovered footprint beneath it. This is not always a problem, but it can affect your plans for a replacement. A new fitted wardrobe can often be designed to cover the area neatly, while a freestanding piece may leave the outline visible.
Skirting boards may run behind the wardrobe, stop at each side, or have been cut around it. Do not remove skirting unless it is necessary for access or part of the wider decorating work. A well-planned replacement can be made to suit the existing room details.
When Professional Removal Is the Better Choice
DIY removal is reasonable for a straightforward unit with visible screws, clear access and no electrical work. It is less suitable where wardrobes are built around awkward sloping ceilings, include integrated lighting, have very large sliding doors, or are tied into wall panelling and other fitted features.
Professional removal is also worth considering when you want the room left ready for the next stage. Careful dismantling can minimise repairs, protect premium flooring and give a clearer starting point for a new layout. For homeowners replacing dated storage with a made-to-measure solution, the design of the next wardrobe should be considered before the old one comes out. The location of sockets, skirting, flooring levels and room proportions all affect the finished result.
John Anthony Carpentry can assess an existing fitted wardrobe as part of a free design consultation, helping homeowners plan removal and replacement with a clean, practical finish in mind.
A fitted wardrobe has done its job when it has made the room easier to live in. When it no longer suits your storage, style or layout, remove it methodically, repair the space properly and use the blank wall as an opportunity to create something that fits the room better.

Comments